
The world of Yoga – Styles, poses & co.
Tree pose // Vrikshasana
Do you know this certain feeling? During your yoga class. The teacher leads you into your favorite pose/asana. And you just think, hmmmmm. Awesome. Just what I needed right now.
For me it doesn’t need to be a super tricky or fancy one in particular. That is why we love sharing our first pose with you. Come back for more.
Check out our yoga class schedule or even the retreat section on our website for more weekly info.
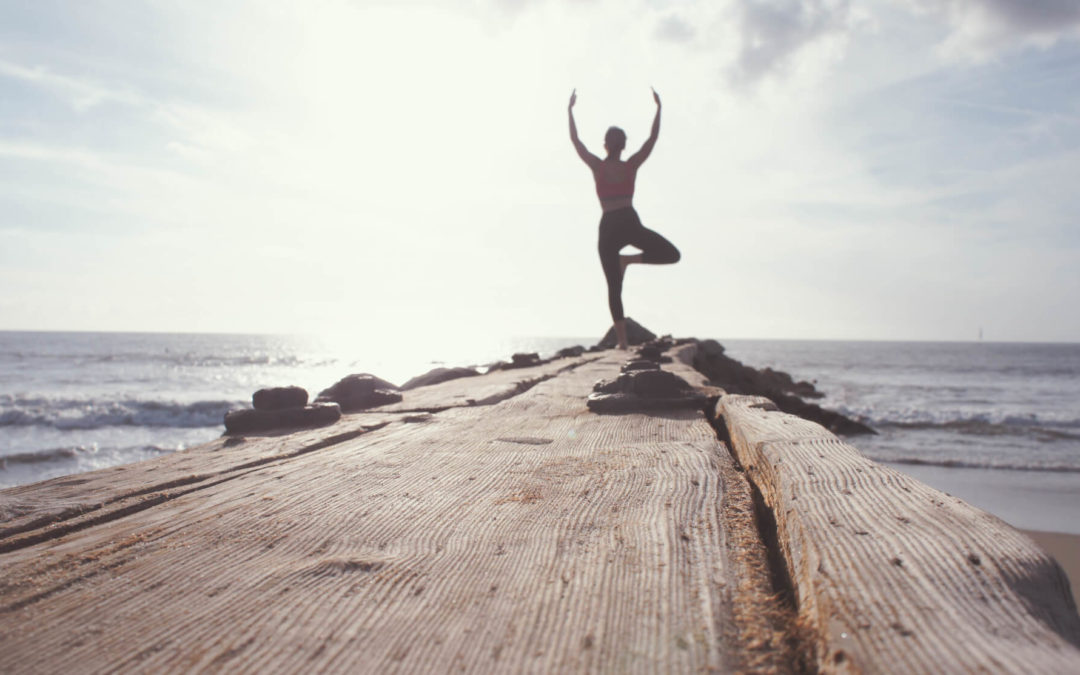
We are super happy that our lovely Jana of Ocean & Yoga posed for us in the tree pose just recently. As you can see there are different approaches for this pose. The following will try a litte insight to it.
!!! Vrikshasana challenges your balance skills !!!
A proper tree pose helps you to find more balance in you legs. You feel more centered, grounded and steady.
Meaning
The word Vrikshasana in Sanskrit combines two words of “vrksa” meaning tree and “asana” meaning pose. Literally called Tree Pose.
How to do it
 a) By standing with your feet together, your ankles and inner knees touch each other. Finding a straight line through the center of your body up to the crown of your head. Than bring you hands together in for of your chest. Exhaling deeply and rooting down through your feet, you will feel more steady and grounded.
b) Now shifting weight to your right foot and bend your left knee up. By keeping a long spine in your back you can reach and grab the ankle of your left leg.
c) Place the sole of your left leg on the inner right thigh. For feeling more comfortable you can also place on the inner sight of the lower leg. Just as you prefer it. DON’T For general stability reasons it is not advisable to place on the opposite knee.
d) Now lengthen your tailbone towards the floor and bring your gaze up. This will provide you with more balance.
e) Wanna stay like this forever? You can manage it when you press the left foot now into the thigh or lower leg and also strengthen your right left to work as a counterpart to it. Therefore you will find your midline and create a powerful posture.
Tips
- Always keep your hips square to the front by keeping your left knee moving out to the left.
- For a more stable posture, zip your belly and lower ribs into body.
- Bringing your shoulder blades down will ensure an uplifting chest.
It is advised to take 5-10 deep breaths. Deepen the pose by finding length on the inhale and root down on every exhale. Of course repeat for both sides.
Need more challenge? Close your eyes while doing it!
Picture taken by the wonderful Cait Caulfield Photography